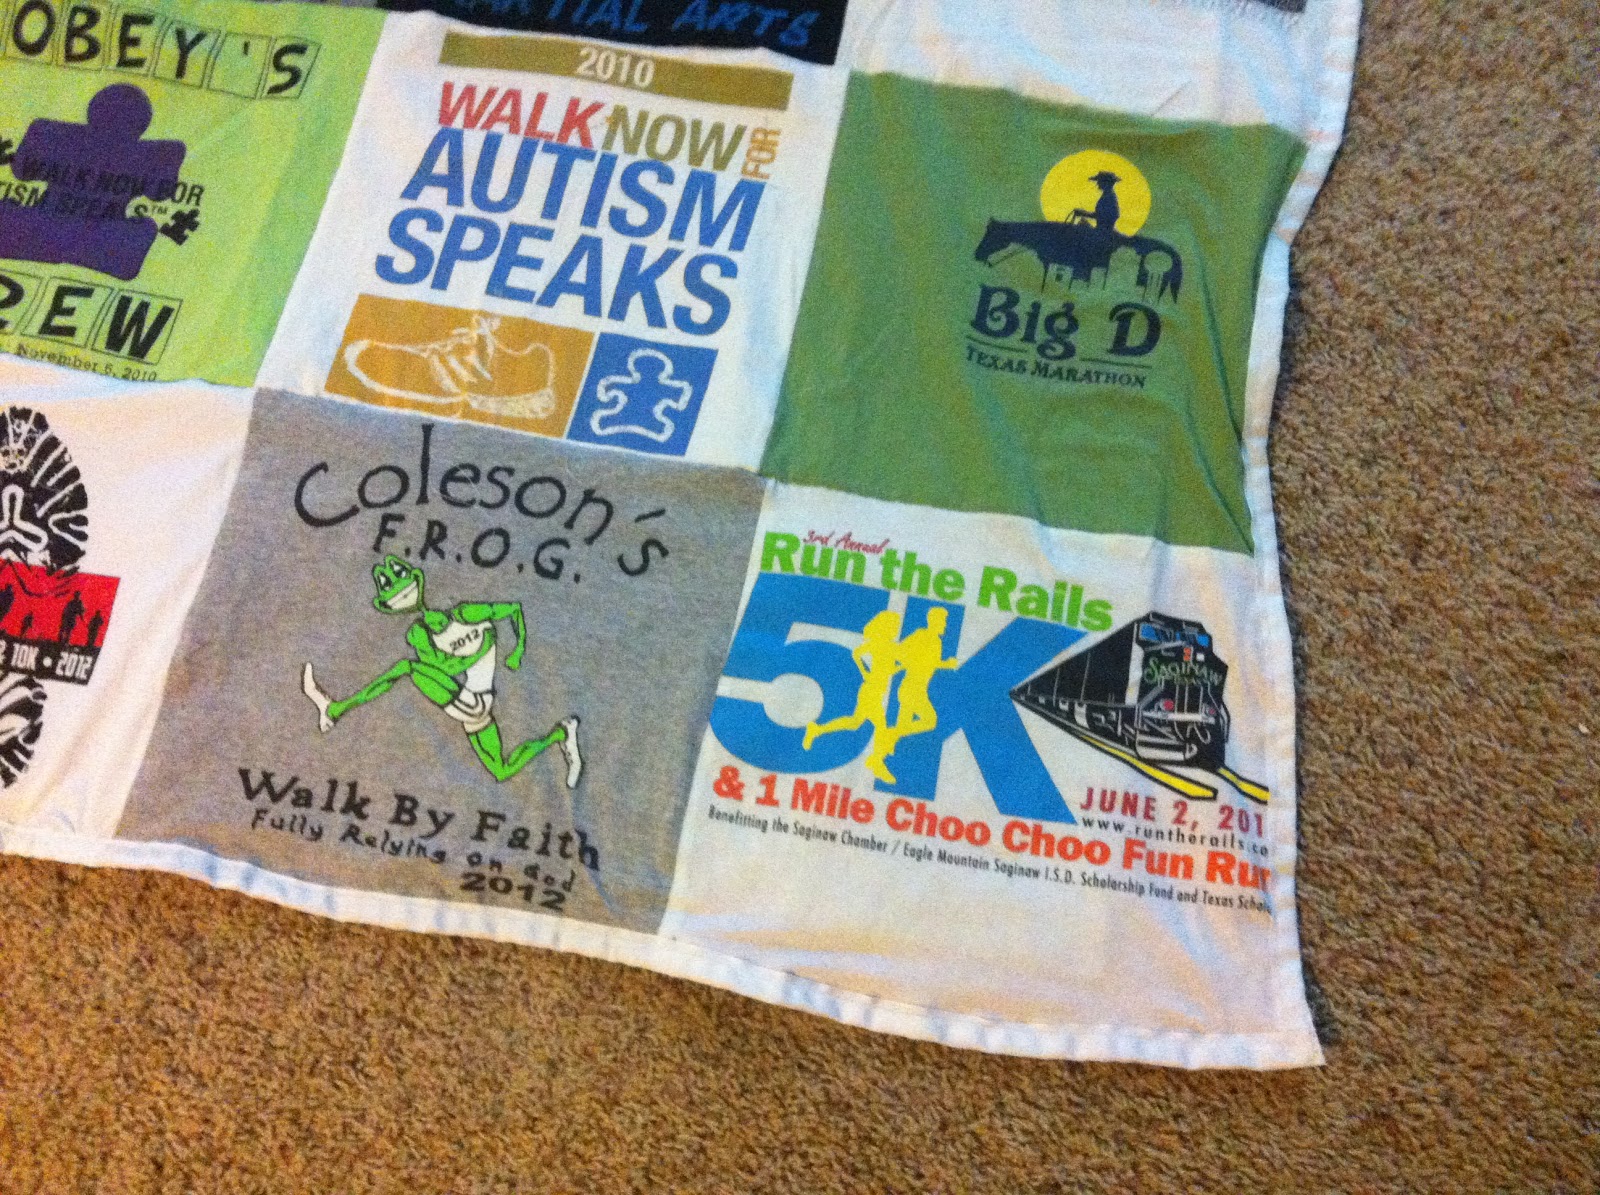
To start I asked her to dig out 16 of her favorite race shirts (this included 2 shirts that she has run in honor of her son, 1 shirt that represents her business and 1 shirt that represents her trainer). I went to Hobby Lobby to find the backing and a zebra material caught my eye, it was so Lo! I had some pink material at home that I was going to use for the binding... well to fast forward a little bit, I didn't buy enough zebra material so I had to cut it into squares and sow them together and place 4 pink squares on the corners of the blanket. This left me with no binding on a Sunday (when Hobby Lobby was closed). I had to go to Wal-Mart and get creative. I ended up buying 2 spools of white 2 inch ribbon to use for the binding.
Okay with that being said, here is how I put the blanket together!!!
1. Find 16 shirts and cut them into 12 inch X 12 inch squares. Then sow 4 rows of 4 shirts together. After I sowed 2 rows of shirts together, I then sowed the rows together. I kept doing this until all 4 rows were sowed together. This makes up the front of your blanket
2. Cut the backing to the same size of the front of the blanket. If you like how this one looks, all I did was cut out 12 inch X 12 inch squares and sowed them together just like I did the front.
3. Place the front of the blanket on the ground face down, then place the batting down (I used the batting from Hobby Lobby that can be ironed on because this made it easier when I went to sow). Then place the back of the blanket onto of the batting and iron together.
4. Sow the 4 edges of the blanket together
5. Binding! This was actually easier than I though. You just fold the ribbon in half and then outline the blanket and sow it shut as close to the edge of the ribbon that you can.
6. Stand back and enjoy your master piece!
This took me 2 days to complete... about 3-4 hours each day! Its time consuming but really worth it when you see the outcome.


No comments:
Post a Comment